Installation Guide
Shattered Minecarts is a private modpack for Minecraft, containing approximately 160 mods. Installation is quite simple, only requiring you to install a recent version of Java, the modpack launcher (MultiMC), and to import the modpack to MultiMC. The modpack will update itself, so you should only have to do this once.
Recommended system requirements
- 6-8 GB of installed RAM (4GB may work fine but can be significantly slower)
- A reasonably fast internet connection (~10Mbps is probably adequate)
- Approximately 620MB of disk space (~180MB for Java, ~200MB for the modpack and ~240MB for Minecraft and the launcher)
Install Java
Minecraft modpacks require a recent version of 64bit Java 8. If you are sure you already have a recent version of Java 8, for example if you have used a Minecraft modpack recently, you can skip this step. Any version of Java other than Java 8, such as Java 12 or Java 7, is unlikely to work or be supported for most Minecraft modpacks currently.
Note
The official Minecraft launcher has its own version of Java, so you may not necessarily have Java installed properly if you have played Minecraft before. The version you have may also be out of date, this guide ensures you have the latest version.
The installer for Java from Oracle (java.com) is not the correct version, and can cause issues (it often installs 32bit Java, and sometimes requires you to get an Oracle Account to download installers), so we will be using the installers from the AdoptOpenJDK project.
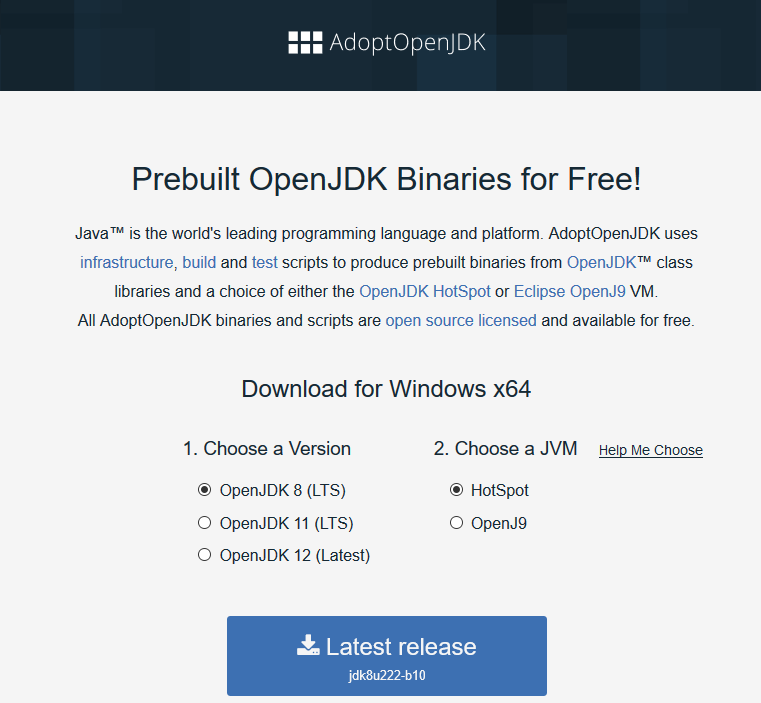
- Go to https://adoptopenjdk.net/index.html
-
Ensure OpenJDK 8 (LTS) and HotSpot are selected, and that the download is for x64; it should look as follows:
-
Press the big blue download button, labelled Latest release
- Run the installer that is downloaded
-
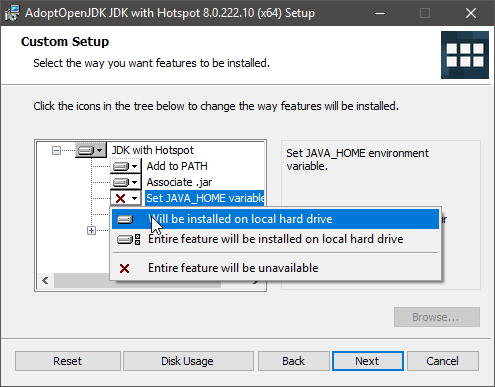
Proceed through the installation wizard, accepting license terms where prompted

-
On the Custom Setup page, ensure Set JAVA_HOME variable is set to Will be installed on local hard drive
-
Complete the installation as prompted
Install MultiMC
MultiMC is a free launcher for Minecraft that provides much more flexibility towards installing mods than the official Minecraft launcher. It is fully open source, and trusted by thousands of users. It supports unmodded instances as well, so you can use it instead of the official Minecraft launcher.
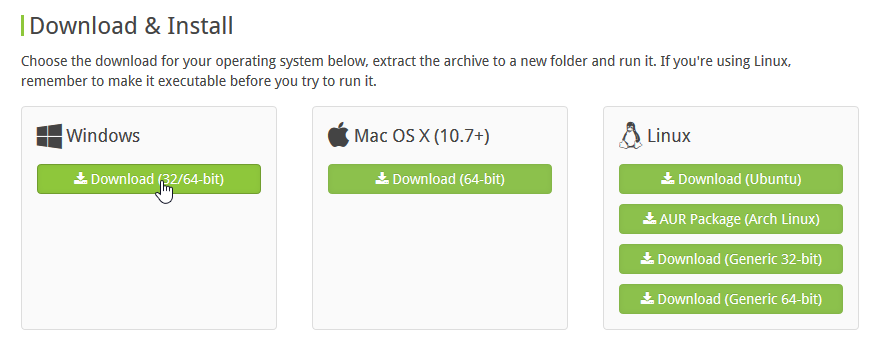
- Go to https://multimc.org/#Download
-
Press the download button for 32/64-bit Windows
-
Follow the section below corresponding to your browser to find the downloaded zip:
Google Chrome
In the dropdown menu, click Show in folder:

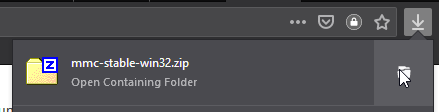
Mozilla Firefox
Ensure Save File is checked, then press OK:

Press the download button at the top right, then the folder icon in the dropdown that comes up:
-
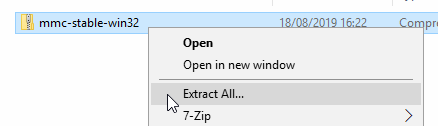
Right click the zip file, and press Extract All... (if it isn't there and you have 7-Zip installed, use 7-Zip -> Extract to "mmc-stable-win32\")
-
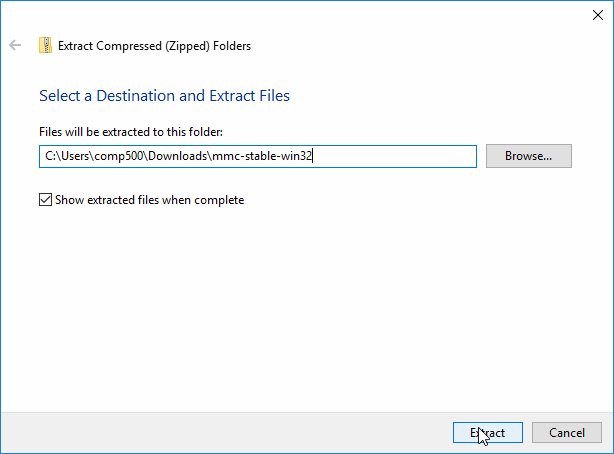
Press Extract on the dialog that appears
-
Open the mmc-stable-win32 folder created, and go into the MultiMC folder in that
- Double-click the MultiMC application file to launch MultiMC
-
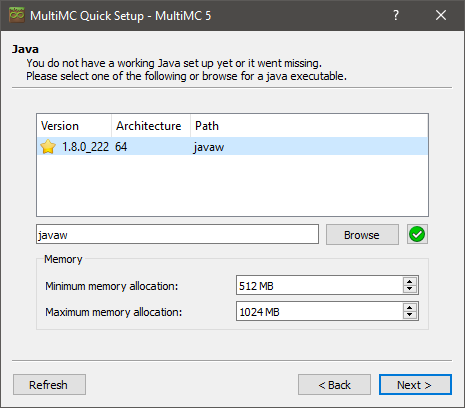
Proceed through the Quick Setup dialog. If the Java screen looks like the following, you have installed Java correctly:
-
MultiMC is now set up correctly, and the following screen should appear:

-
You can now proceed to Import the modpack
Tip
If you want to create a desktop shortcut for MultiMC, simply right click the MultiMC application file and mouse over Send to, then click Desktop (create shortcut). If you want a shortcut in the Start Menu instead, move the shortcut created on the Desktop to the folder %AppData%\Microsoft\Windows\Start Menu\Programs.
Minecraft account setup
This screen will appear when you first launch a Minecraft instance in MultiMC, so that you can set up a Minecraft account. If this screen does not appear, you can open it by clicking Profiles in the top right, then Manage Accounts.
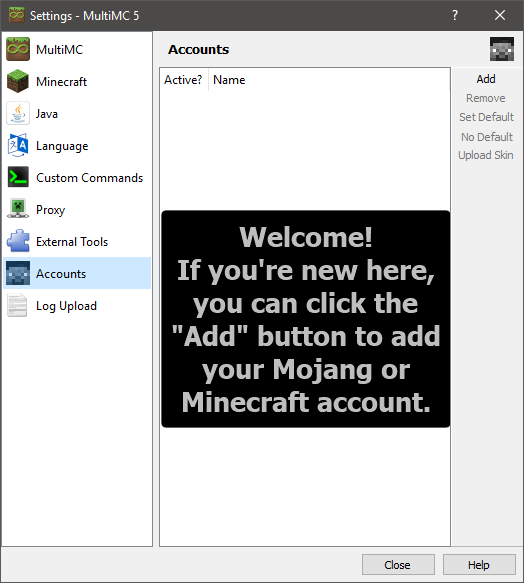
In order to add your Minecraft account, press the Add button in the top right of this screen, and type your Minecraft account details.
If your account was created after late 2012 or you have migrated your account to a Mojang account (highly recommended, see this article), you will need to log in with your email. If not, you will need to log in with your username.
You can then close this screen, and launch your modpack.
Import the modpack
- Open MultiMC, if you haven't already
- Press Add Instance at the top left of the MultiMC window
- In the dialog that comes up, press Import from zip on the left
-
Paste the Modpack URL given to you in the textbox:
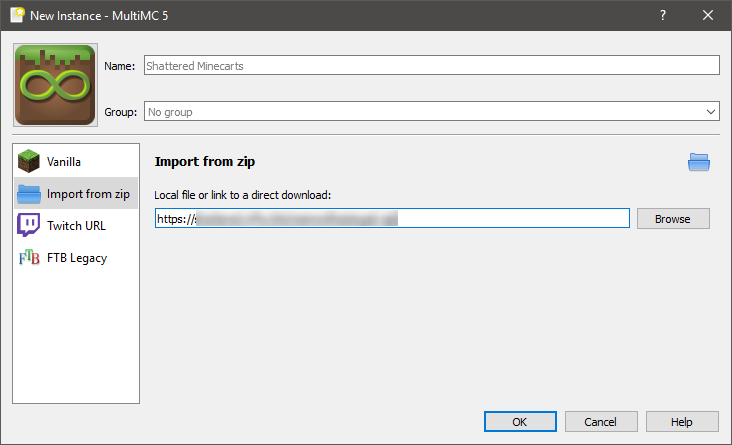
-
Click OK
-
At the right of the screen, press Launch
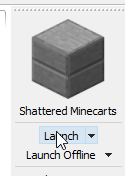
-
If this is your first time launching a Minecraft modpack, see Minecraft account setup to set up your Minecraft account
- The modpack will now automatically install and launch
Tip
If the modpack fails to install or crashes, the Minecraft Log window appears. You can also open this window while the game is running by pressing Edit Instance. Pressing the Upload button will upload the log, and copy a link to this uploaded log. You can send this to mod and modpack developers to assist in fixing issues with the modpack.